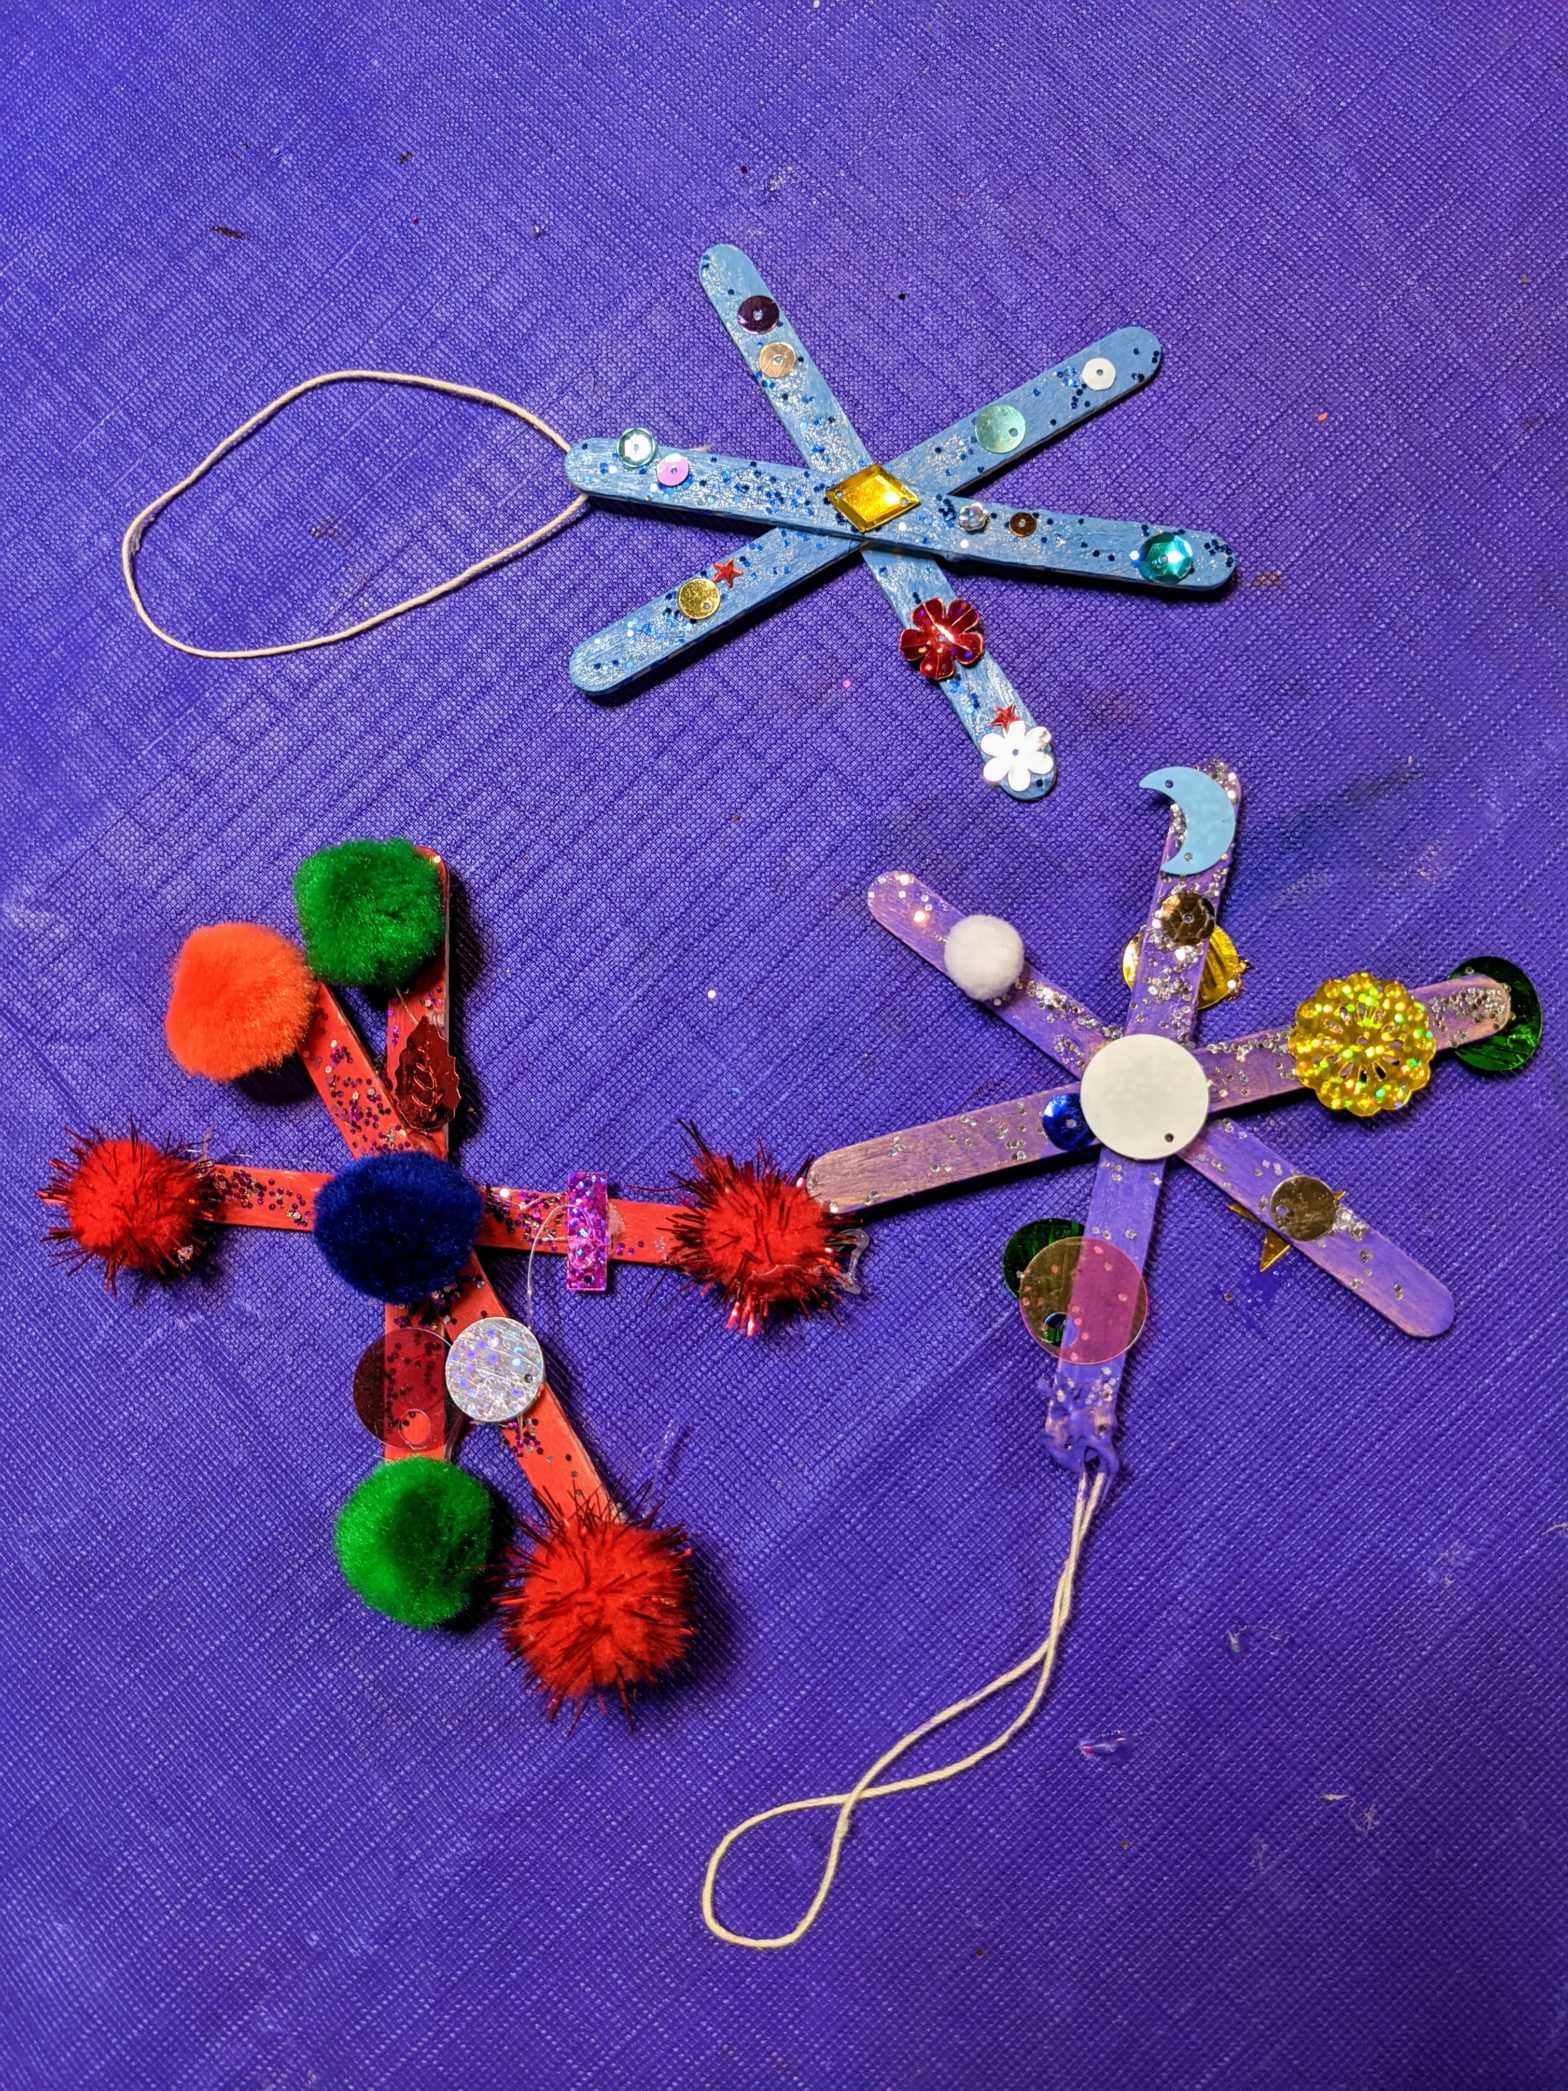
Snowflake Craft!
It’s the winter holidays, and snow is in the air! We aren’t having much luck with the actual thing here at Motley Headquarters, so we decided to make some snowflakes of our own! Craft along with us in this video tutorial or just follow the instructions below!
…crafting offline? Download a PDF of the instructions here…
Snowflake Supplies
- Craft sticks (you’ll need three per snowflake)
- Opaque paint (acrylic or tempera will work) and paintbrush
- School glue or Mod Podge
- Glitter or mica powder
- Small cups (disposable is best) for mixing glitter glue
- Sequins, pompoms, and other snowflake sparkles
- String or twine
- Scissors
- A paintbrush you don’t mind getting glue on
- Glue Gun or Tacky Glue
Steps to Make It
- Hot glue or tacky glue three craft sticks together in the middle to make your snowflake base
- Tie your string with a knot to make a loop
- Hot glue or tacky glue the string to the back of one of the top craft sticks to make a hanging loop
- Paint your snowflake a nice wintry color like white, blue, purple, or whatever you like
- Set aside and let your paint dry a little bit so it’s sticky
- Put some glue or Mod Podge into your small cup and add enough glitter (we know these are vague amounts, but glitter is like hot pepper—everyone likes a different amount)
- Use your glue brush to brush glitter glue on your snowflake
- Add sequins or other bling while the glue is wet
- Let dry completely before hanging!
